Category Archives: Blog

Graphene FET Toy Physics Model

This graphene FET toy physics model is primarily based on the graphene physics described in the paper Electronic transport in two dimensional graphene by S. D. Sarma et. al. and from materials properties data found in a number of sources (see the Description tab for the details). I’d appreciate any comments on errors, problems, inaccuracies, or how to make this model better.

The IV Model tab allows you to selected the gate dielectric, dielectric thickness, mobility, gate voltage, phonon energy of the dielectric, drain-source voltage, drain-source length and width, and the resulting IV curve is plotted for these parameters.

The Performance Table tab shows a summary of the graphene FET performance based on the selected values on the IV Model tab.

The Materials Properties Tab shows the dielectric constant, breakdown voltage, and optical phonon energy for each gate dielectric that can be selected in the IV Model tab.

Raspberry Pi touch screen display lights up

Installing the kernel and drivers to get the Adafruit 2.8 inch touch screen operation was more involved than I expected, but it is working. It just need some tweaking to set it up so that the GUI can be used more easily. The RPi seems to be set up for a 1080×760 monitor but the touch screen is only 320 by 240. At least one configuration file will likely need updating to make the background and applications windows fit better.

I used the Occidentalis v0.2 kernel build as described in the Adafruit instructions for the PiTFT touch screen. The instruction have you build a new kernel so it takes a while to get it running. After building the new kernel, the Wolfram language package needs to be installed as the Wolfram language only comes pre-installed in the Rasbian distribution in the NOOBS loader. This went smoothly but I’ve had one of my CDFs crash Mathematic so some troubleshooting is still required.

The RPi distribution via NOOBS seemed to be faster and more responsive than this version when it was first installed. The Ethernet adapter was not set up to run automatically, and the wireless interface was not configured to connect to hidden station IDs. Changes to the Interfaces configuration file enabled the Ethernet port. Later updates to this file, enabled a wireless connection too. After upgrading the packages, it seems to be much more responsive.  The photos below show the display just after boot into x-windows and with the Fermi-Distribution function notebook running in Mathematica.
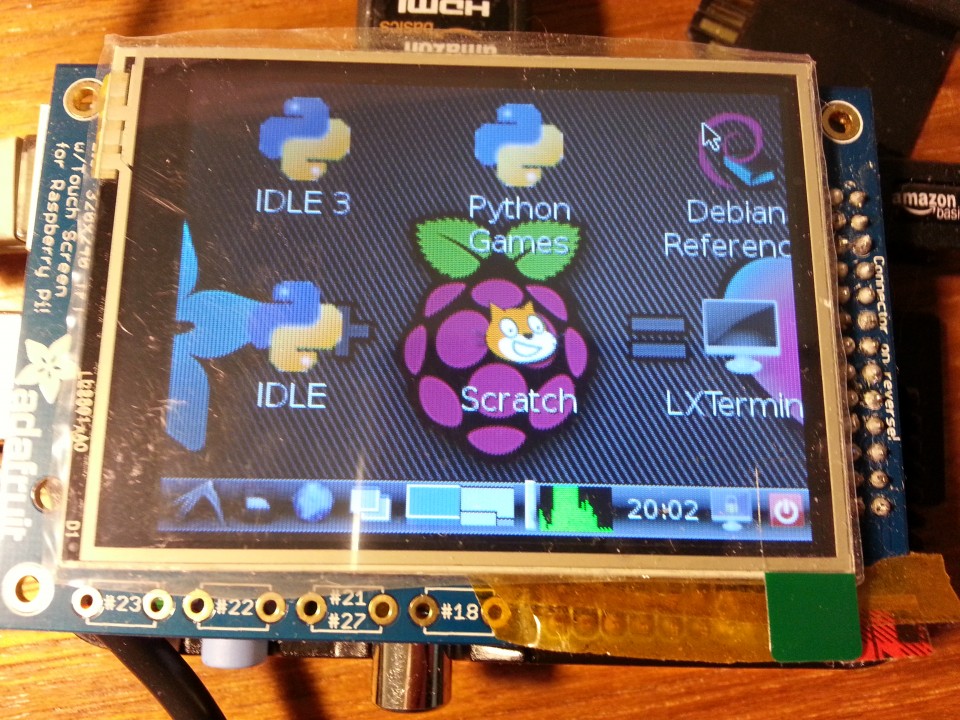
Raspberry Pi with an Adafruit PiTFT 2.8 in touch screen running in x-windows mode
Raspberry Pi with an Adafruit PiTFT 2.8 in touch screen running in x-windows mode.
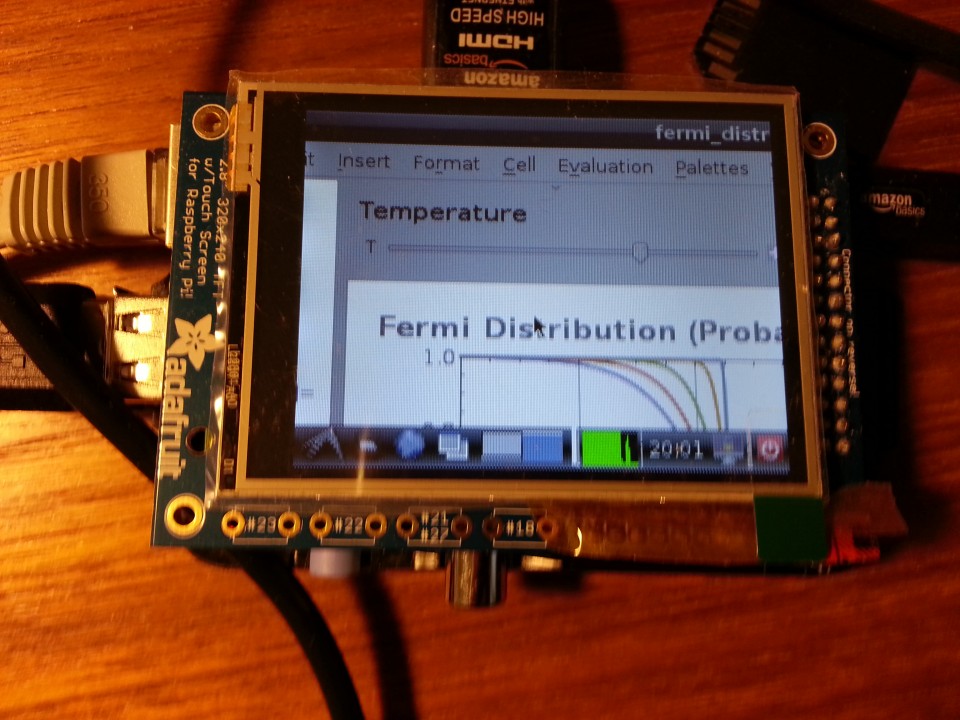
Raspberry Pi with an Adafruit PiTFT 2.8 in touch screen running in x-windows mode showing a Mathematica notebook running
Raspberry Pi with an Adafruit PiTFT 2.8 in touch screen running in x-windows mode showing a Mathematica notebook running.

It’s easier for me to use and remember operations in a GUI like Windows XP rather then a command string operation system like Linux so I keep a cheat sheet of command. These commands were used repeatedly for this activity and are listed below.

Updating the Raspbian

sudo apt-get update
sudo apt-get upgrade

Firmware updates
Updating the firmware on the RPi requires the rpi-update tool. The tool is on github along with the direction for installing it.

sudo apt-get install git-core
sudo wget https://raw.github.com/Hexxeh/rpi-update/master/rpi-update -O /usr/bin/rpi-update && sudo chmod +x /usr/bin/rpi-update
sudo rpi-update

The rpi-update will rebuild a new kernel. It might take a little while. When it completes, then reboot the RPi.

Shutdown and reboot
From an x-windows session or command line, use

sudo shutdown –h now (to shutdown and halt. Restart by cycling the power to the RPi)
 or
sudo shutdown –r now (to reboot the RPi).

Device driver location
If the build worked correctly, then /dev should contain two new SPI devices

  • spidev0.0
  • spidev0.1

Brian’s life blog has another good description on how to install the SPI drivers and use them.

Wireless adapter driver installation
See the eLinux.org wiki about USB wireless adapters and installing the drivers.

lsusb shows the devices connected to the USB ports
lsmod shows the modules installed

Edit /etc/network/interfaces using the nano editor and add the following if not already present for access to a hidden network (see How to setup a Raspberry Pi with a hidden network using a Edimax EW-7811Un).

auto lo
 iface lo inet loopback
iface eth0 inet dhcp
auto wlan0
 allow-hotplug wlan0
 iface wlan0 inet dhcp
 wpa-scan-ssid 1
 wpa-ap-scan 1
 wpa-key-mgmt WPA-PSK
 wpa-proto RSN WPA
 wpa-pairwise CCMP TKIP
 wpa-group CCMP TKIP
 wpa-ssid “Your Wifi SSID”
 wpa-psk "Your PSK Value&gt"
iface default inet dhcp

Then output and exit and restart the configuration

sudo /etc/init.d/networking restart

Remote access
First, generate new RSA key (see Remote Access from eLinux.org).

sudo rm /etc/ssh/ssh_host_* && sudo dpkg-reconfigure openssh-server

Then from windows, use Putty or from Linux use ssh

ssh ip-address –l username
 or
ssh –X ip-address –l username

to open using the x-windows server in Linux or a x-winders server in Windows. The x-window server must be installed on Windows first before starting an x-session.

Installing Mathematica

 sudo apt-get update && sudo apt-get install wolfram-engine

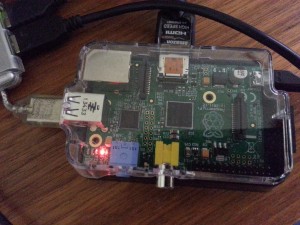
The Raspberry Pi boots

The Raspberry Pi NOOBS completed its installation and booted into Rasbpian Linux.

Raspberry PI now operational

Raspberry PI now operational

The photo below shows it running in GUI mode and a Mathematica plot of Sin[x].

Raspberry Pi booted and running in GUI mode showing a Mathematica plot of Sin[x]

Raspberry Pi booted and running in GUI mode showing a Mathematica plot of Sin[x]

Now, it’s time to figure out if all the hardware drivers are present.


NOOBS v1.3.4 we have a problem

The NOOBS SC Card contained v1.3.0 so I decided to upgrade to v1.3.4 before booting my Raspberry Pi. I downloaded NOOBS_v1_3_4.zip from the Raspberrypi.org website. I also downloaded the recommended SD Card FAT formating tool as well. The NOOBS_v1_3_4.zip file was unzipped and copied onto the 8 GB SD Card after to older version was saved. The copy failed with the following error: file copy error the “parameter is incorrect”. The os\RaspBMC\root.tar.xz seems to be the problem file.

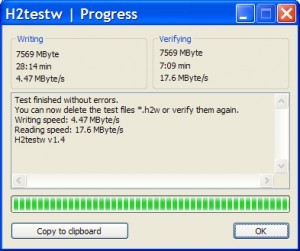
The SC card was reformatted using the full and the quick options but this did not solve the problem. Several site recommended testing the memory using H2testw 1.4. The test took about 40 minutes to write the card and verify it but no errors were found.

H2testw SD Card memory test results

H2testw SD Card memory test results

I wrote the following Mathematica code to check the download and file but nothing jumps out as a problem.

I’ll run the Raspbian and probably the Adafruit version of the wheezy build so hopefully this will not be an issue going further.

Update:

After all this testing and checking, all the files copied over without an error. I still don’t understand what the problem was.

Raspberry Pi Kit arrives

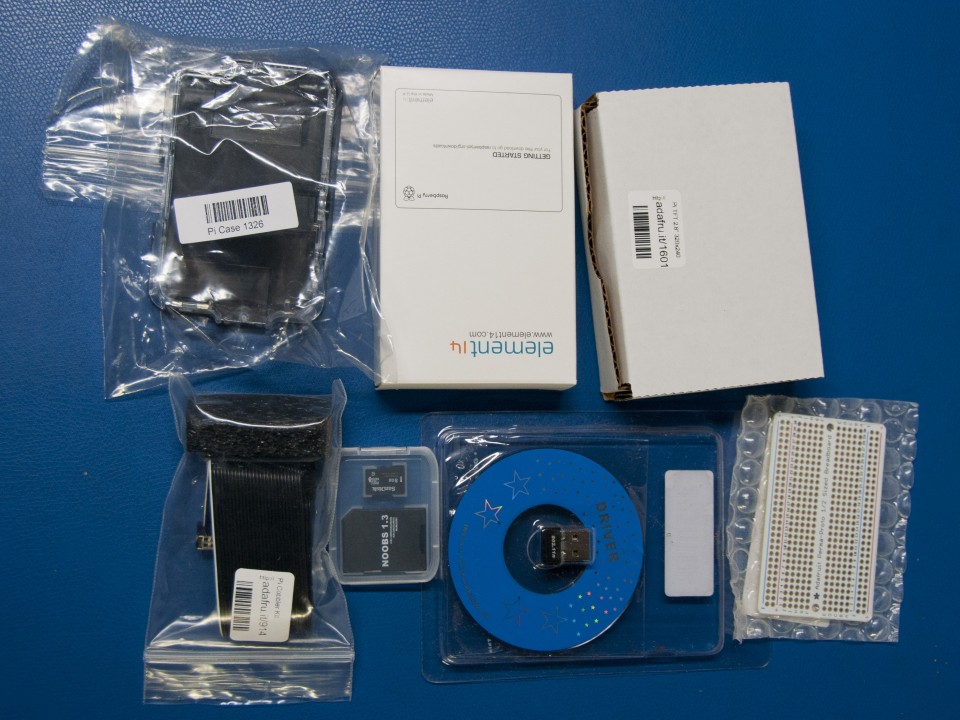
Once I learned that Mathematica and the Wolfram Language are supported on the Raspberry Pi , I could not resist getting it. I started looking at Raspberry Pi at the MarkShed, could not resist the 2.8 touch screen at Adafruit. The photographs below show the components I selected. This is like my fourth order with Adafruit (Arduino kits) and I’ve been impressed with the quality of the components supplied.

I’m interested in using Mathematica as a way to create, display, control, and interact with hardware. Some of the projects that I’m thinking about include:

  • Clock radio modification to add Internet music streaming
  • Audio function generator
  • Impedance analyzer using the AD5933 Impedance Converter Network Analyzer eval board
  • Interface with DSP eval boards for signal processing applications
  • Interface with a Smartfusion SoC eval board to explore FPGA and analog sampling applications
  • USB development board for sensor applications

My custom selected Raspberry Pi kit as received

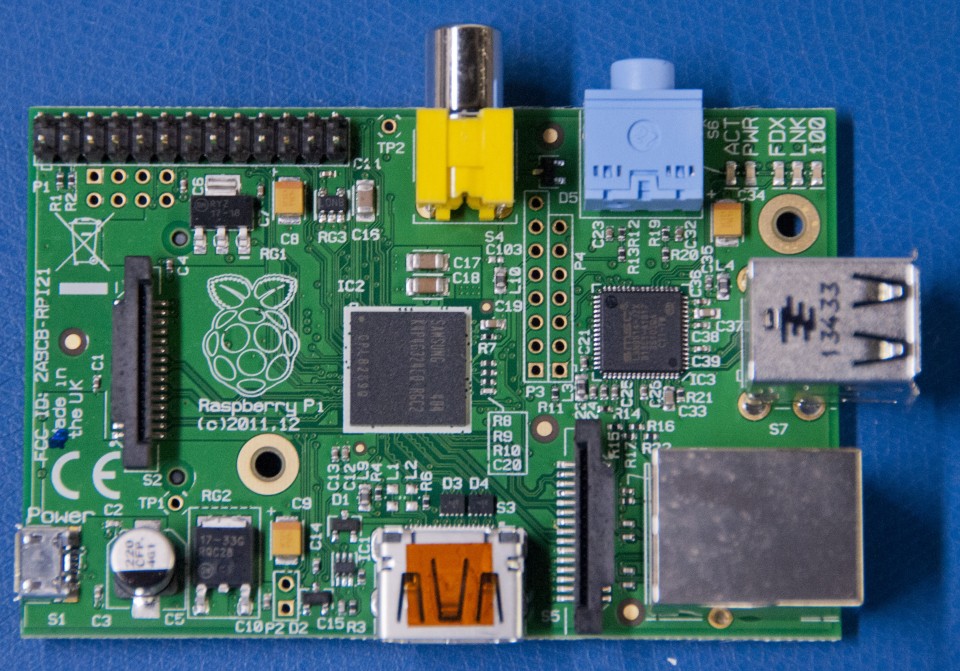
Raspberry PI Model B Top view

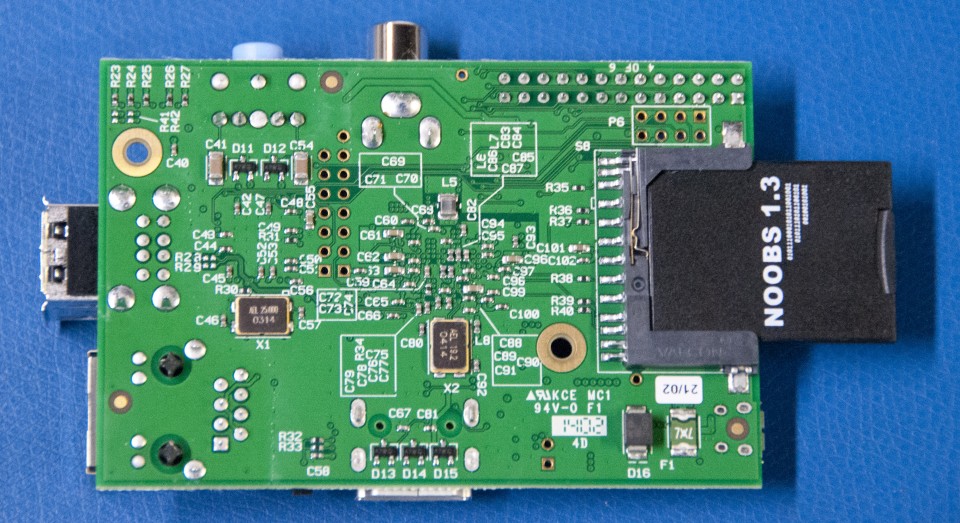
Raspberry PI Model B bottom view with NOOBS 1.3 SD Card installed

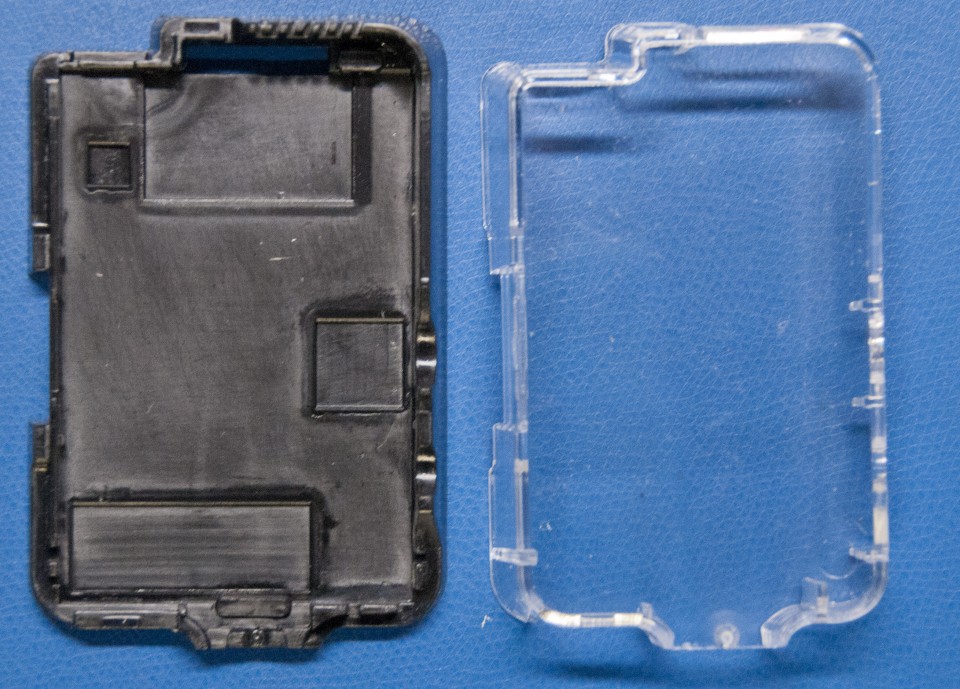
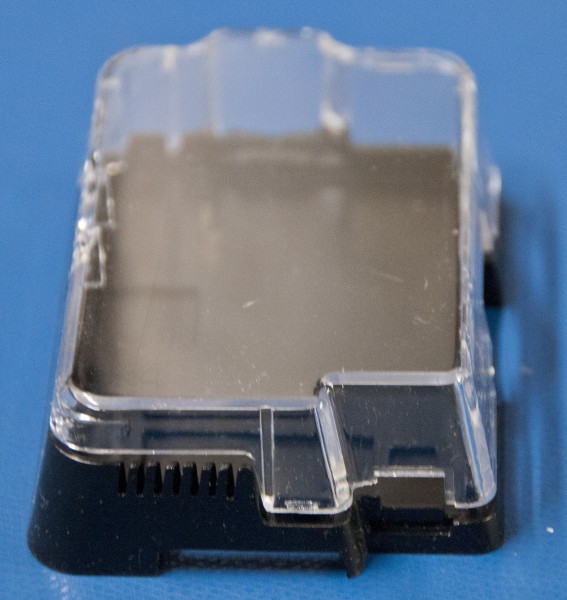
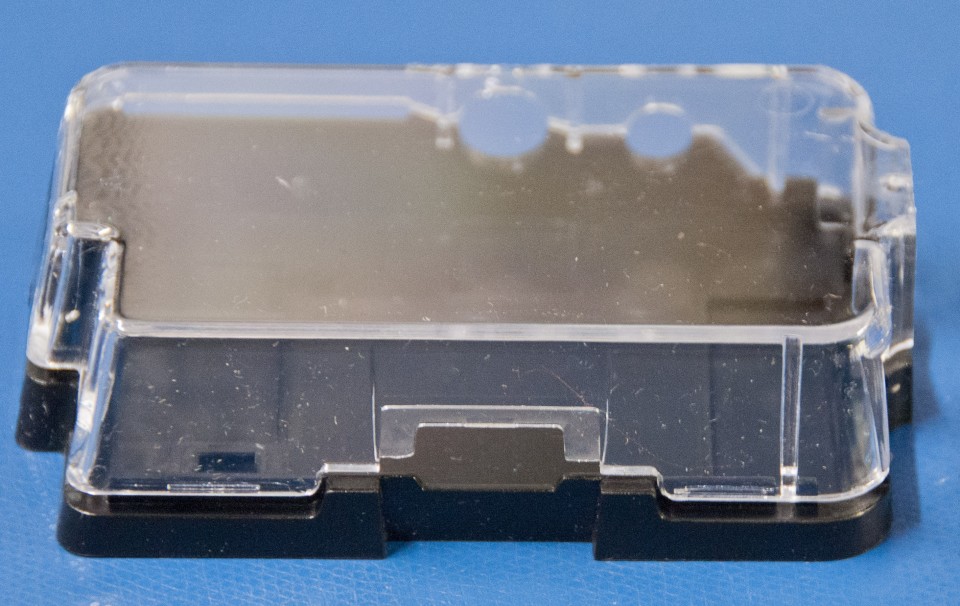
Adafruit Raspberry Pi case top and bottom part top view

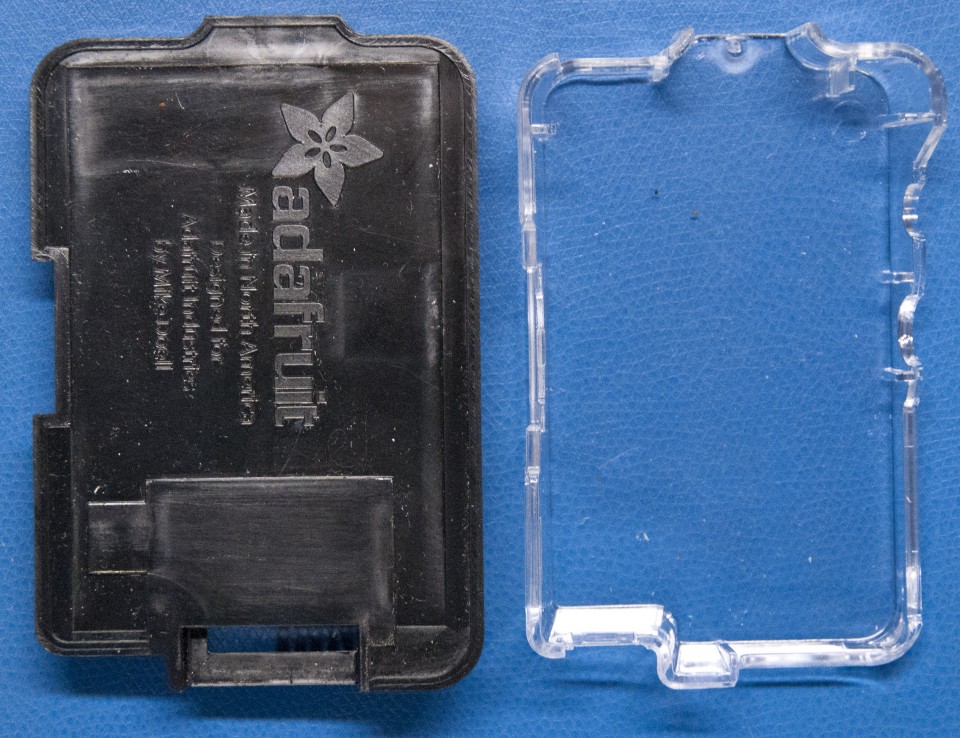
Adafruit Raspberry Pi case top and bottom part bottom view

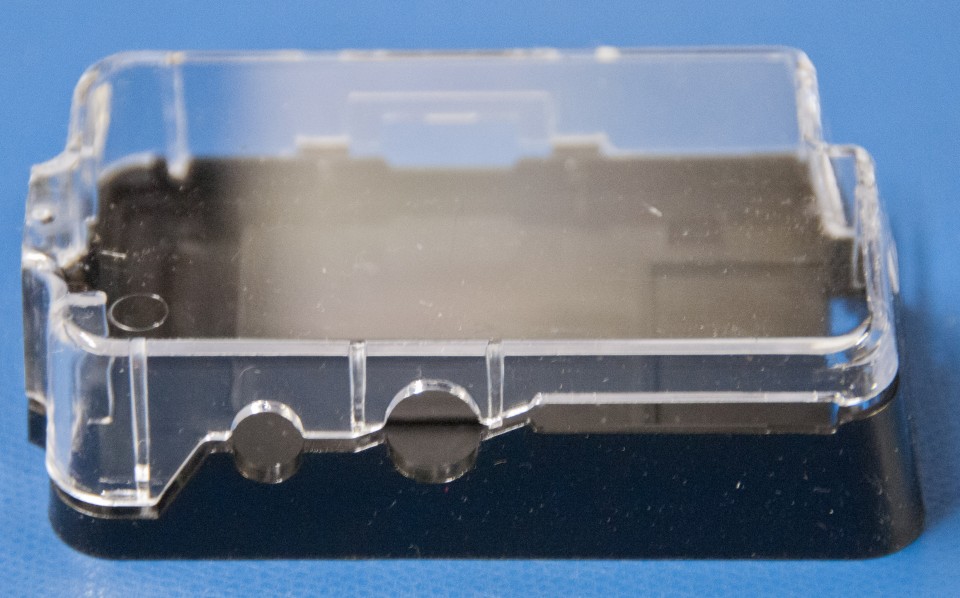
Adafruit Raspberry Pi case showing analog video port openings

Adafruit Raspberry Pi case showing power and SD Cart openings

Adafruit Raspberry Pi case showing HDMI opening

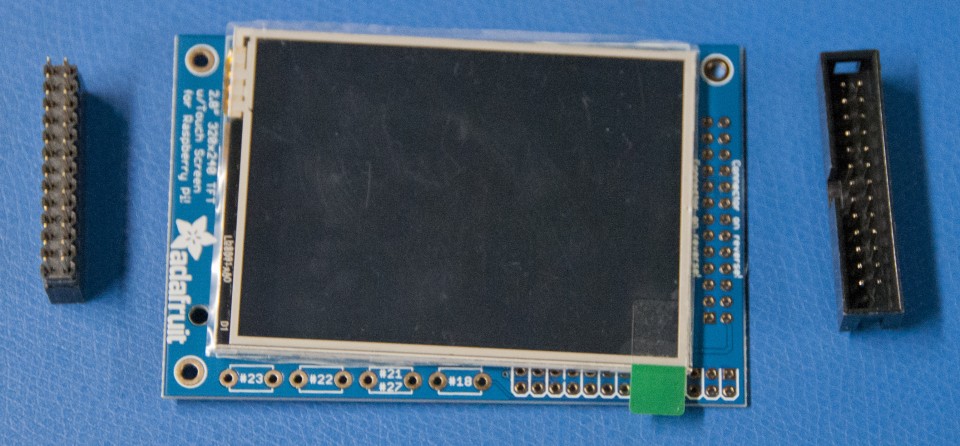
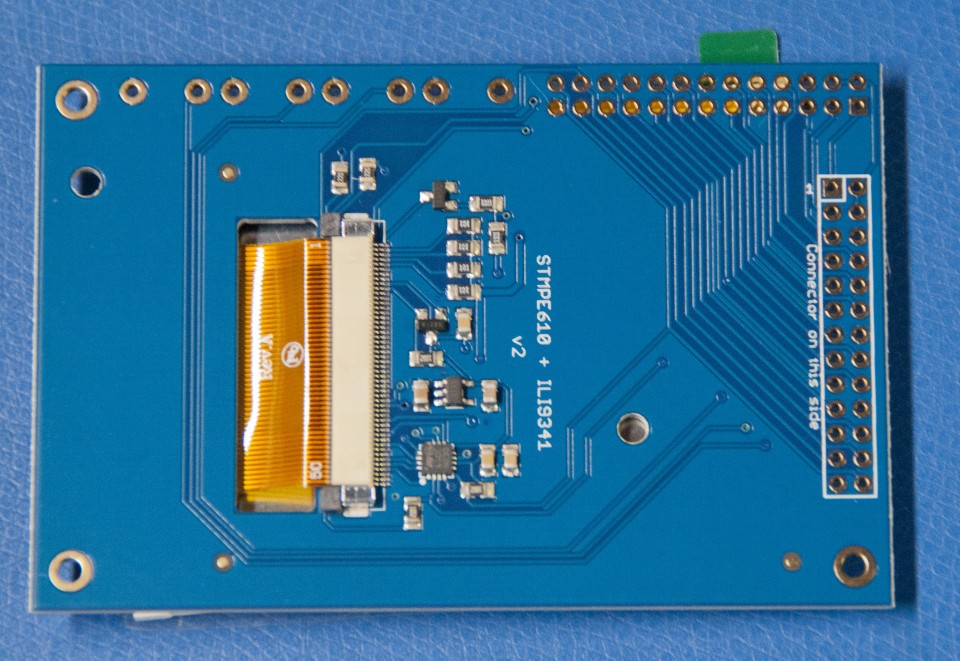
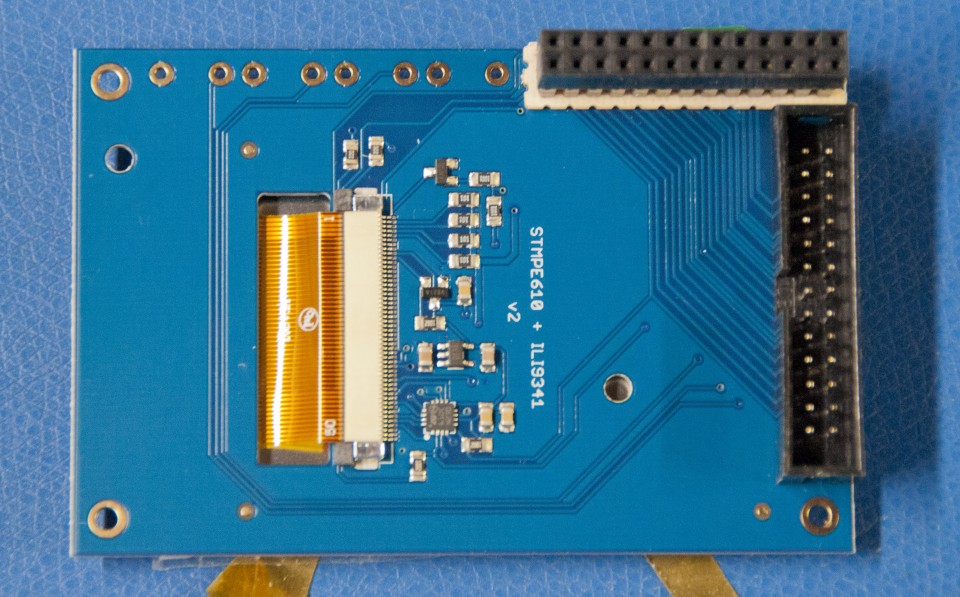
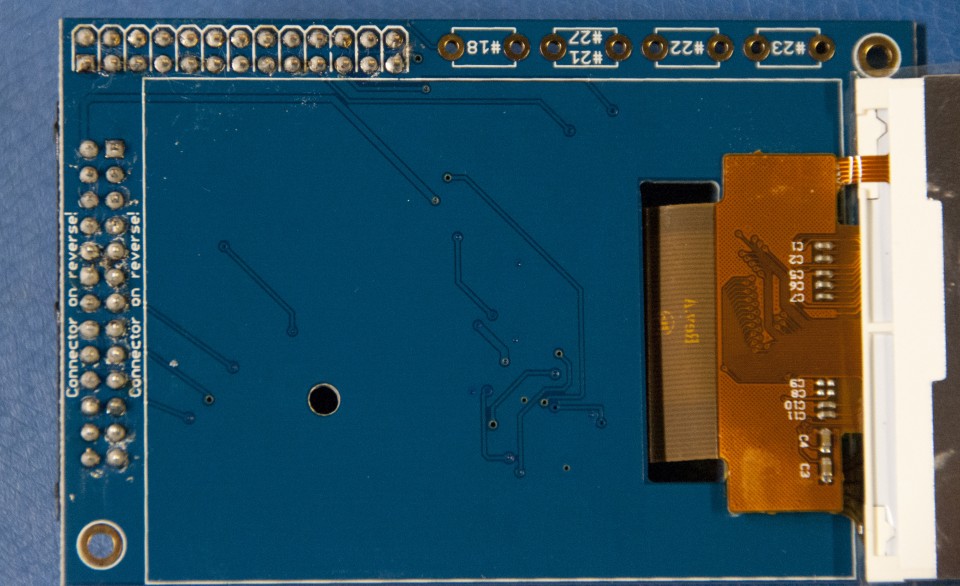
Adafruit PiTFT mini kit 320x240 2.8" TFT Touch screen for the Raspberry Pi with headers front side view

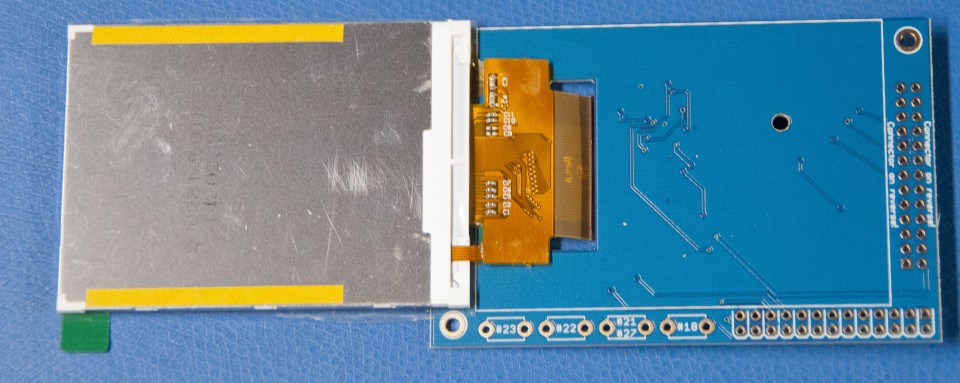
Adafruit PiTFT mini kit 320x240 2.8" TFT Touch screen for the Raspberry Pi with headers front side view of the board and back side view of the TFT screen

Adafruit PiTFT mini kit 320x240 2.8" TFT Touch screen for the Raspberry Pi with headers back side view of the board

Adafruit PiTFT mini kit 320x240 2.8" TFT Touch screen for the Raspberry Pi with installed headers top view of the board

Adafruit PiTFT mini kit 320x240 2.8" TFT Touch screen for the Raspberry Pi with installed headers top view of the board

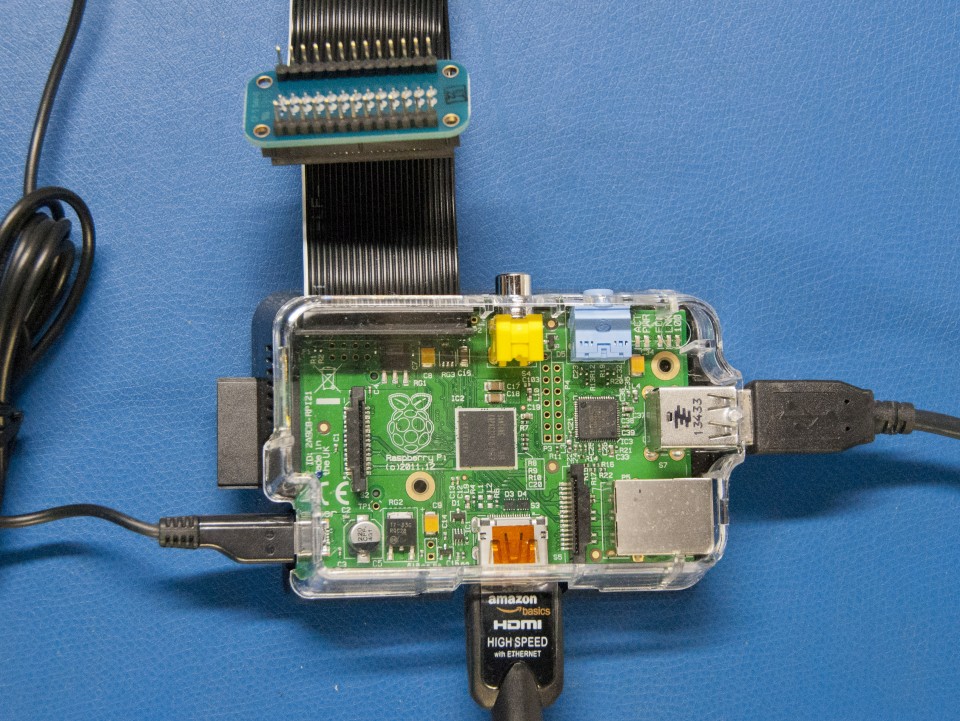
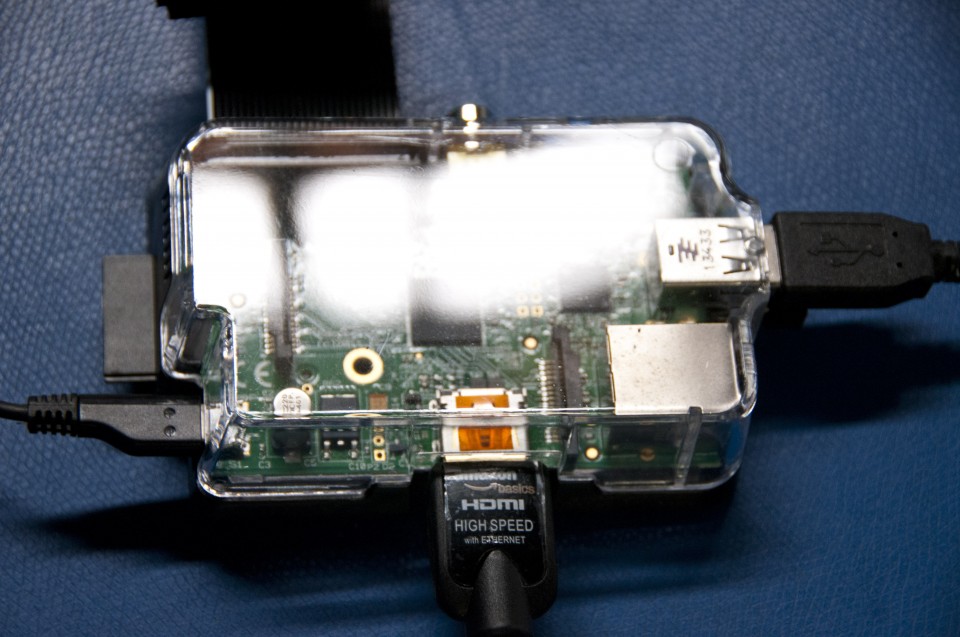
Raspberry Pi in the Adafruit case with USP keyboard cable, USB Wi-FI module (not in view), HDMI cable, power cable, SD Card, and cobbler breakout cable all plugged in for fit check

Rasberry Pi in Adafriut case with cables

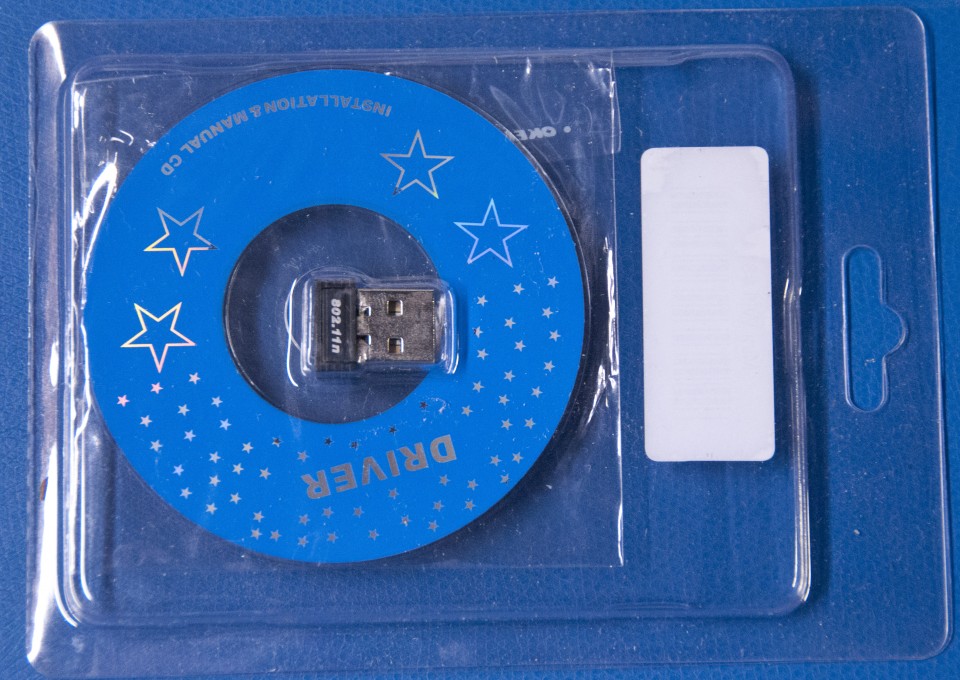
Miniature Wi-FI 802.11 a/g/n Module kit for the Raspberry Pi to view

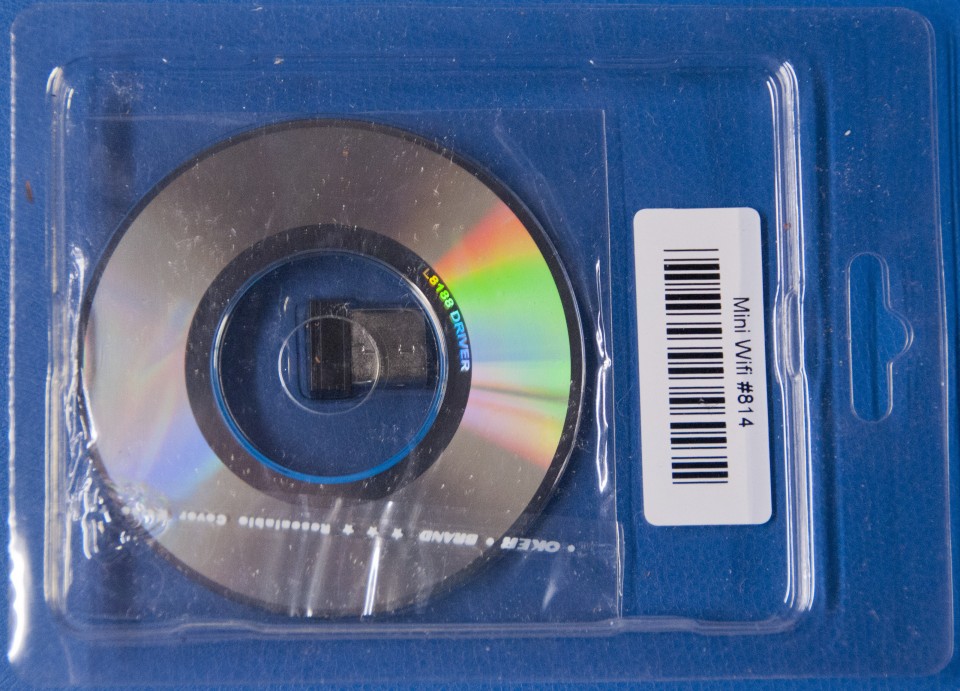
Miniature Wi-FI 802.11 a/g/n Module kit for the Raspberry Pi bottom view

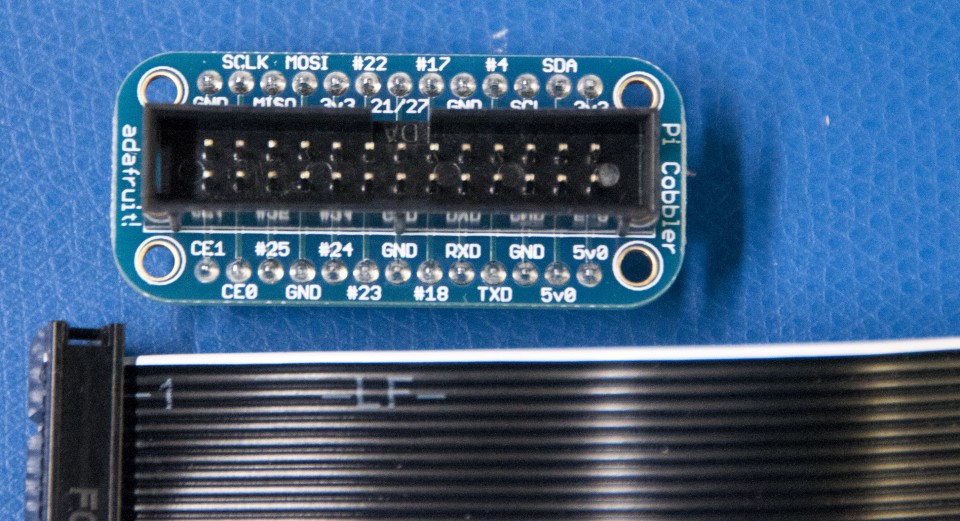
Adafruit Assembled Pi Cobbler Breakout Cable for the Raspberry Pi cable view.

Adafruit Assembled Pi Cobbler Breakout Cable for the Raspberry Pi Breakout board top view

Mathematica text books

I use  the two textbooks on Mathematica shown below regularly.

Mathematica Cookbook has a lot of good programming examples in science, engineering, finance, and music. It’s for someone knowledgeable about programming and the subject matter and should be considered more of a reference manual.

Mathematica Navigator is more like a Mathematica manual but has a lot of examples. The paperback version was written for Mathematica 6 but the book contains a CD-ROM that has a version of the book for Mathematica 6 and 7. These math books can be linked into the documentation center for quick and easy reference. My complaint is that the version 7 of the book only contains what’s new with version 7. You must search both versions to get all the examples on a search topic.

All CDFs should use SaveDefinitions->True

Getting CDFs to work when embedded in my blog was giving me fits. I would get to the point where the my model  would work fine in a Mathematica mathbook, in a CDF preview, in the web-ready CDF run locally , but not when uploaded to my blog. Wolfram support advises that the option SaveDefinitions->True should be used in every CDF you create. SaveDefinitions->True preserves the internal state of all the variables for a CDF. I’ve used this now in CDF using Manipulate and DynamicModule and it definitely works.